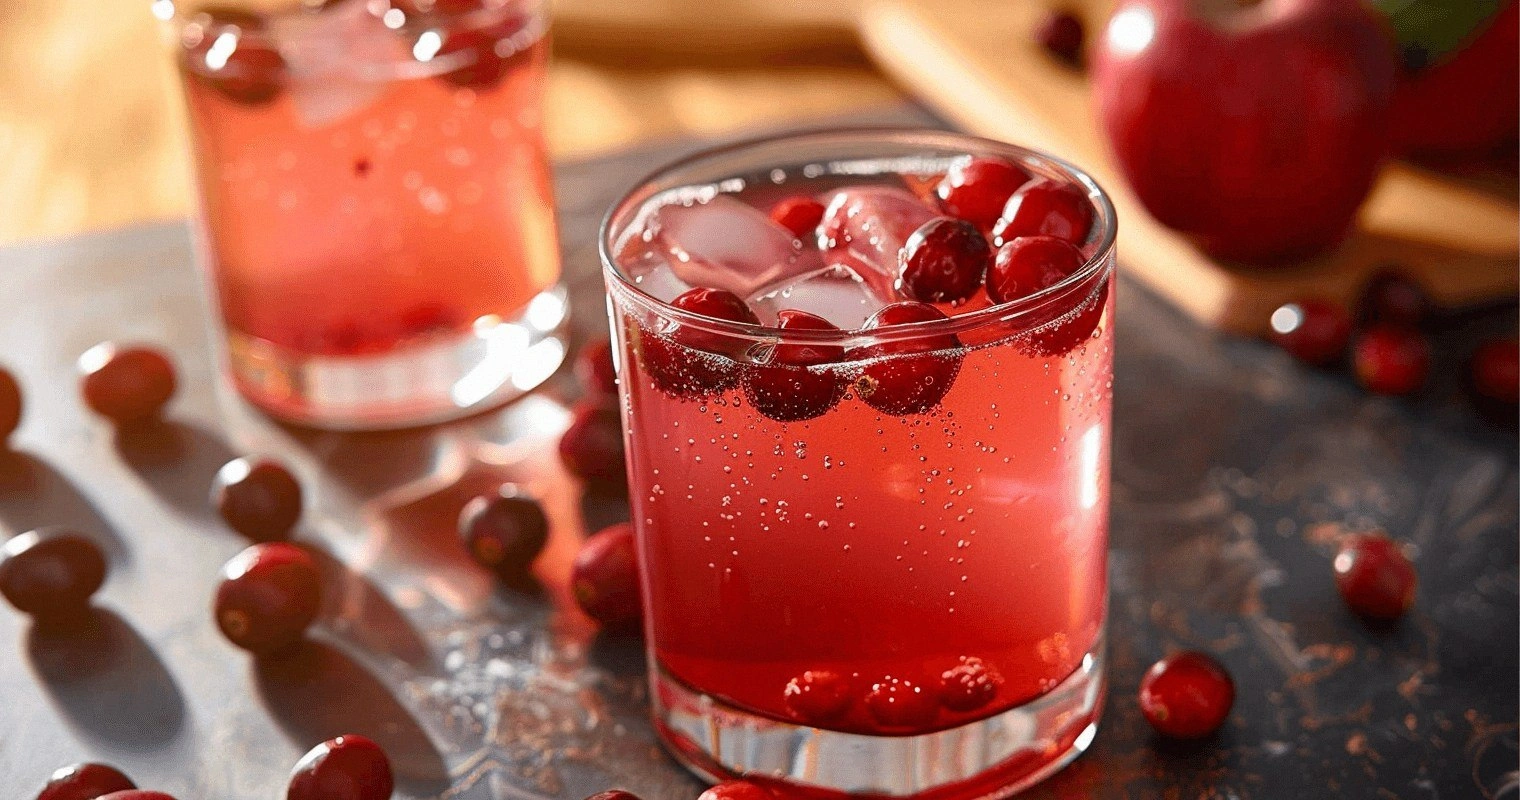
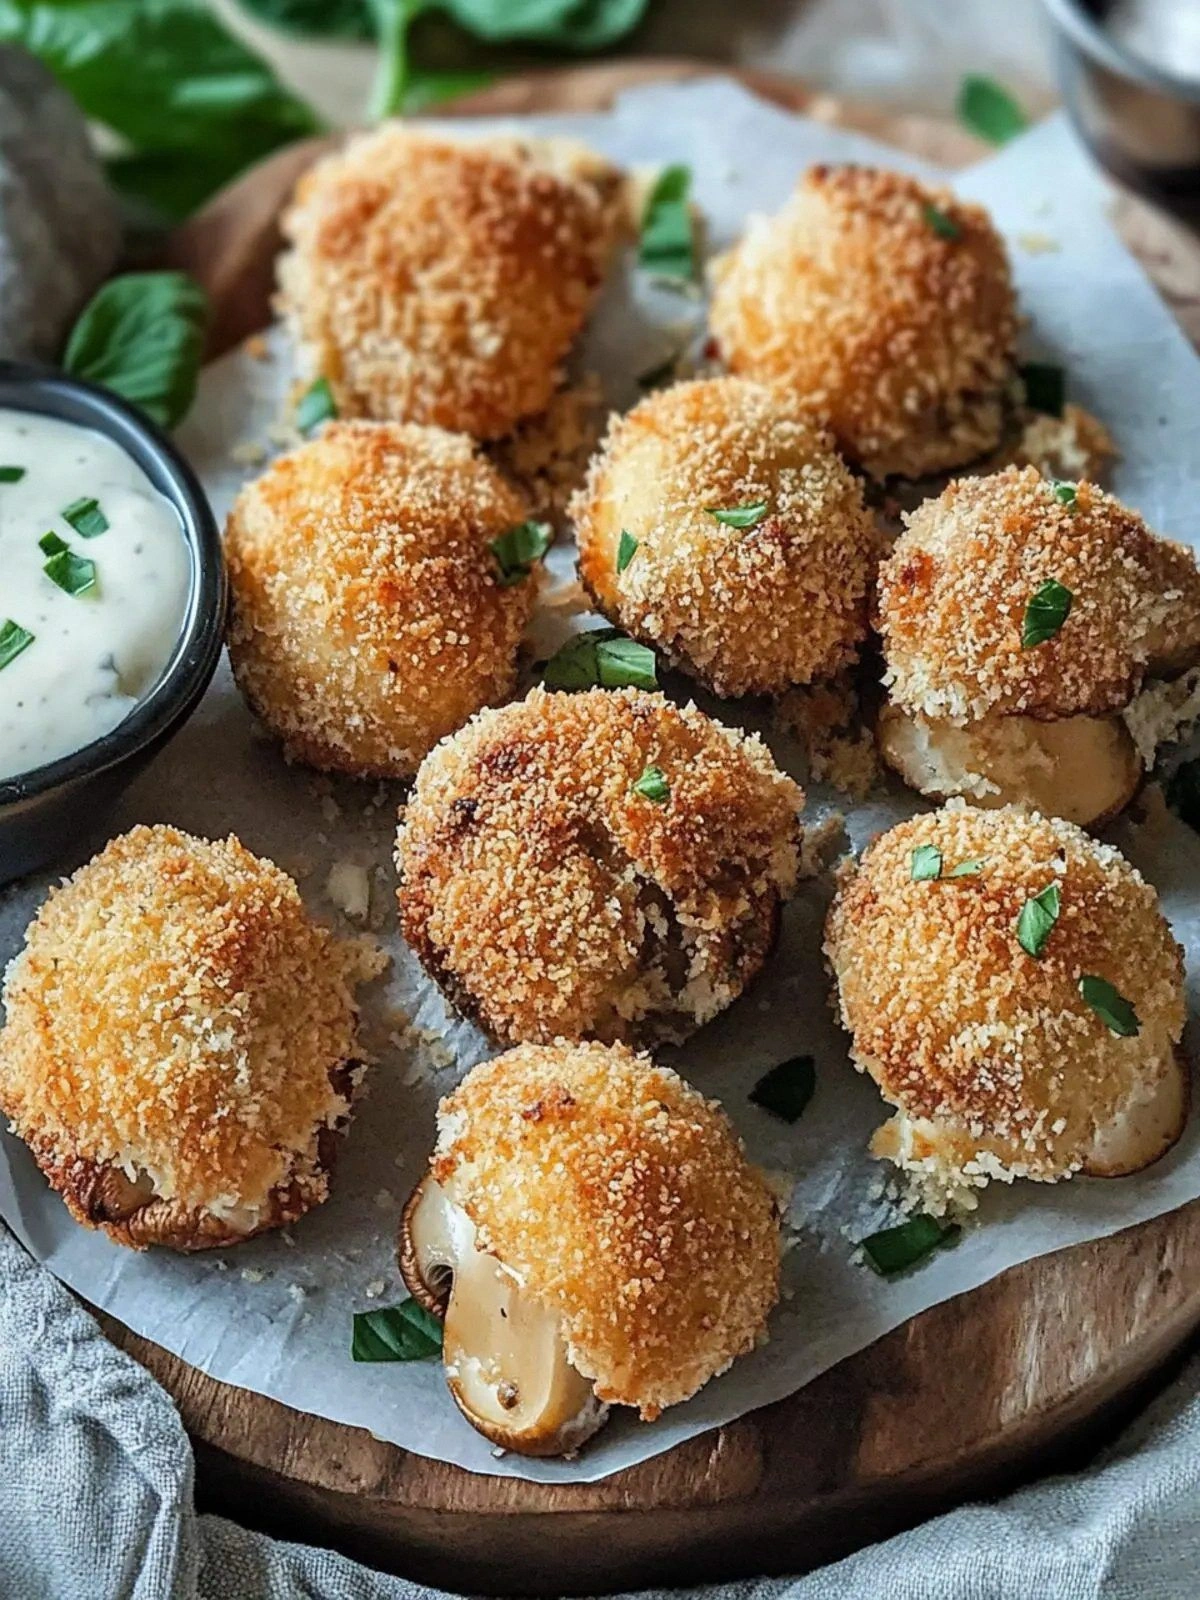
Picture this: it’s a rainy Sunday afternoon, the kind that makes you want to stay in bed and binge-watch your favorite series. I’m sitting on the couch, a half‑finished pizza, and suddenly a craving hits me—something crispy, savory, and utterly comforting. I glance at the pantry, and there it is: a jar of button mushrooms, a bag of panko, and a stack of spices that promise adventure. I’m about to embark on a culinary experiment that will turn these humble ingredients into the ultimate snack.
I was skeptical at first. Everyone tells you that mushrooms are best sautéed or roasted, not breaded and baked. But the moment I saw the first bite, the skepticism vanished. The outer shell was a buttery, golden crust that cracked like thin ice, revealing a juicy interior that sang with garlic and onion notes. The texture was a perfect marriage of crunch and tenderness, a flavor that lingered on the tongue like a well‑written line of prose. That single bite was a revelation, and I knew I had to share the secret.
This version of crispy baked breaded mushrooms is hands down the best you’ll ever make at home. Why? Because I’ve stripped away the fluff and kept only what matters: crispness, flavor depth, and a method that guarantees consistency every time. I’ve tested it in a convection oven, a standard oven, and even a skillet‑covered bake, and the results are the same: a golden, crunchy exterior that never turns soggy, and a savory interior that keeps you coming back for more. I dare you to taste this and not go back for seconds.
If you’ve ever struggled with breaded mushrooms that come out soggy or bland, you’re not alone—and I’ve got the fix. I’ll walk you through every single step, from selecting the freshest button mushrooms to mastering the coating technique that locks in moisture. By the end, you’ll wonder how you ever made them any other way.
What Makes This Version Stand Out
- Crunch Factor: The double‑dipping method with flour and eggs creates a layered crust that stays crisp even after baking, unlike traditional single‑coated versions that soften.
- Flavor Depth: The blend of granulated garlic, onion powder, and dried parsley infuses the mushrooms with aromatic richness that elevates every bite.
- Time Efficiency: Prep takes 15 minutes, and the baking time is a mere 20 minutes—perfect for a quick weeknight snack or a last‑minute appetizer.
- Make‑Ahead Friendly: Once coated, the mushrooms can be frozen before baking, making it an ideal option for parties or meal prep.
- Health‑Conscious: Baking eliminates excess oil, keeping the dish lower in fat while still delivering that satisfying crunch.
- Versatility: These mushrooms pair beautifully with dips, sauces, or even a sprinkle of parmesan for a quick cheese twist.
Inside the Ingredient List
The Flavor Base
Granulated garlic, onion powder, and dried parsley are the unsung heroes that give these mushrooms their unmistakable aroma. Granulated garlic, with its fine texture, distributes evenly across the surface, ensuring every bite carries that sweet, umami punch. Onion powder provides a subtle sweetness that balances the earthiness of the mushrooms, while dried parsley adds a hint of brightness and a pop of color. Skipping any of these would leave the dish flat and bland, so keep them in full force.
The Texture Crew
Flour and eggs are the backbone of the coating, creating a bridge between the mushroom and the panko. The flour coats the mushroom surface, giving the eggs a place to stick, and the eggs act as a binder that holds the panko together. If you omit the flour, the eggs will clump and the panko will flake off, resulting in a messy crust. If you skip the eggs, the coating will be dry and brittle.
The Unexpected Star
Panko breadcrumbs are the star of the show. Unlike traditional panko, which can be overly airy, this variety has a denser crumb that holds up under heat. It creates a golden, crunchy shell that doesn’t crumble when you bite. If you’re in a pinch, you can use regular breadcrumbs, but the texture will be noticeably less crisp. A quick swap is to toast the panko in a dry skillet for 2–3 minutes before coating—this boosts the crunch factor even further.
The Final Flourish
Cooking spray is the final touch that ensures the mushrooms bake without sticking to the sheet. A light coat of spray on the baking tray and on the mushrooms before baking creates a barrier that keeps the crust from absorbing excess moisture. If you forget the spray, you can still salvage the dish by using parchment paper, but the result will be slightly less crisp.
Everything’s prepped? Good. Let’s get into the real action.
The Method — Step by Step
- Preheat your oven to 425°F (220°C). Line a baking sheet with parchment paper or a silicone mat. The high heat is crucial for achieving a golden crust that’s crisp on the outside and tender on the inside. As the oven warms, the air inside starts to circulate, creating a dry environment that helps the panko crisp up.
- Wash the button mushrooms gently with a damp cloth, removing any dirt without soaking them. Pat them dry with a paper towel. Moisture is the enemy of crispness; the drier the mushrooms, the better the coating will adhere and the crisper the final product.
- In a shallow bowl, whisk the two eggs until the whites and yolks are fully blended. The eggs act as the glue that binds the flour and panko together. If you prefer a vegan version, substitute with a tablespoon of aquafaba or a flaxseed‑egg mixture.
- In another bowl, combine the flour, granulated garlic, onion powder, black pepper, salt, and dried parsley. Mix thoroughly so the spices are evenly distributed. This ensures each mushroom receives a uniform flavor profile.
- In a third bowl, pour the panko breadcrumbs. For an extra crunch, you can toss them with a teaspoon of olive oil and a pinch of sea salt before coating.
- Now the coating station: first dip each mushroom into the flour mixture, shaking off excess. Then plunge into the beaten eggs, allowing the excess to drip back into the bowl. Finally, coat with the panko, pressing lightly to adhere. Repeat for all mushrooms. This double‑dip technique guarantees a thick, even crust.
- Arrange the coated mushrooms in a single layer on the prepared baking sheet. Space them slightly apart to allow heat to circulate. Spray the tops lightly with cooking spray; this creates a barrier that prevents the panko from absorbing moisture.
- Bake for 15–18 minutes, flipping halfway through. The mushrooms are done when the panko is golden brown and the edges begin to pull away from the paper. The internal temperature should reach 165°F (74°C) if you’re checking with a meat thermometer. The aroma at this point will be intoxicating—like a warm, savory hug.
- Remove the mushrooms from the oven and let them rest for 2 minutes. This brief pause allows the interior to settle, ensuring the juices don’t pool on the surface. The result is a perfectly crisp exterior with a moist, flavorful interior.
- Serve immediately with your favorite dip—ranch, aioli, or a tangy marinara. The contrast of the crunchy crust against the creamy dip is pure bliss. If you’re feeling adventurous, sprinkle a dash of grated parmesan or a pinch of smoked paprika for an extra layer of flavor.
That’s it—you did it. But hold on, I’ve got a few more tricks that will take this to another level. Stay tuned for insider tips that will make your mushrooms the star of any gathering.
Insider Tricks for Flawless Results
The Temperature Rule Nobody Follows
Many people bake at 375°F, but that low heat can trap steam and cause the panko to become soggy. I always set the oven to 425°F, which creates a dry, hot environment that crisps the coating instantly. If you’re using a convection oven, lower the temperature by 25°F to avoid over‑browning.
Why Your Nose Knows Best
During baking, the aroma of toasted panko is a reliable indicator of doneness. When you can smell the nutty, slightly caramelized scent, the mushrooms are almost ready. Trust your nose; it’s a seasoned chef’s best friend.
The 5-Minute Rest That Changes Everything
Letting the mushrooms rest for 5 minutes after baking allows the interior to set and the juices to redistribute. This simple step prevents a dry center and ensures each bite is juicy and flavorful.
Use a Silicone Baking Mat
A silicone mat eliminates the need for parchment paper and provides a non‑stick surface that resists heat. It also makes cleanup easier and reduces waste. I’ve used it for years and never looked back.
Double‑Dip Technique Mastery
The double‑dip—flour, egg, then panko—creates a layered crust. If you skip the flour, the eggs will clump and the panko will flake. If you skip the egg, the panko will fall off. Stick to the sequence for maximum crunch.
Freeze Before Baking
For meal prep, coat the mushrooms and freeze them on a baking sheet. When you’re ready to serve, bake directly from the freezer; the coating will still crisp up beautifully. This trick saves time and keeps your kitchen organized.
Creative Twists and Variations
This recipe is a playground. Here are some of my favorite ways to switch things up:
Cheesy Parmesan Crust
Add 1/4 cup grated parmesan to the panko mixture for a savory, nutty crust that pairs perfectly with marinara. The cheese melts slightly during baking, creating a gooey center that’s irresistible.
Spicy Cajun Flavor
Swap the dried parsley for 1 teaspoon of Cajun seasoning and sprinkle a pinch of cayenne pepper. The result is a bold, smoky bite that’s perfect for a brunch spread.
Herb‑Infused Panko
Toss the panko with fresh chopped rosemary and thyme before coating. The herbs infuse the crust with fragrant notes that elevate the dish from simple to sophisticated.
Vegan Version
Replace eggs with aquafaba or a flaxseed‑egg mixture, and use a plant‑based cooking spray. The texture remains crisp, and the flavor stays on point.
Sweet & Savory Twist
Mix 2 tablespoons of brown sugar into the panko. The sugar caramelizes during baking, creating a sweet crust that contrasts beautifully with the umami mushrooms.
Asian Fusion
Add 1 tablespoon of soy sauce to the egg wash and sprinkle toasted sesame seeds on top. Serve with a dipping sauce made from lime juice, fish sauce, and a touch of honey for a complete Asian-inspired snack.
Storing and Bringing It Back to Life
Fridge Storage
Store leftovers in an airtight container in the refrigerator for up to 3 days. The crust will soften slightly, but they remain delicious when reheated.
Freezer Friendly
Freeze the coated mushrooms on a parchment‑lined sheet for 1–2 hours, then transfer to a freezer bag. They can stay frozen for up to 2 months. When ready, bake at 425°F for 12–15 minutes.
Best Reheating Method
Reheat in a preheated oven at 350°F for 5–7 minutes, or until the crust is crisp again. Add a splash of water to the bottom of the pan to create steam, which keeps the mushrooms moist without compromising the crunch.